If you would like to set up your Jetson Nano in a more hands off manner, there’s a new installer script I’ve been working on. Here’s the details
Jupyter Notebooks
Jupyter Notebook is a great addition to your toolset when starting off with Python and especially Machine Learning. At the risk of oversimplifying the functionality, it allows you to execute python code on a machine from the web server. Additionally, it allows the user to embed code and description in a single file, while capturing program output as you evaluate “cells” of code.
Basic Installation
Step 1 : Installing the Ubuntu OS
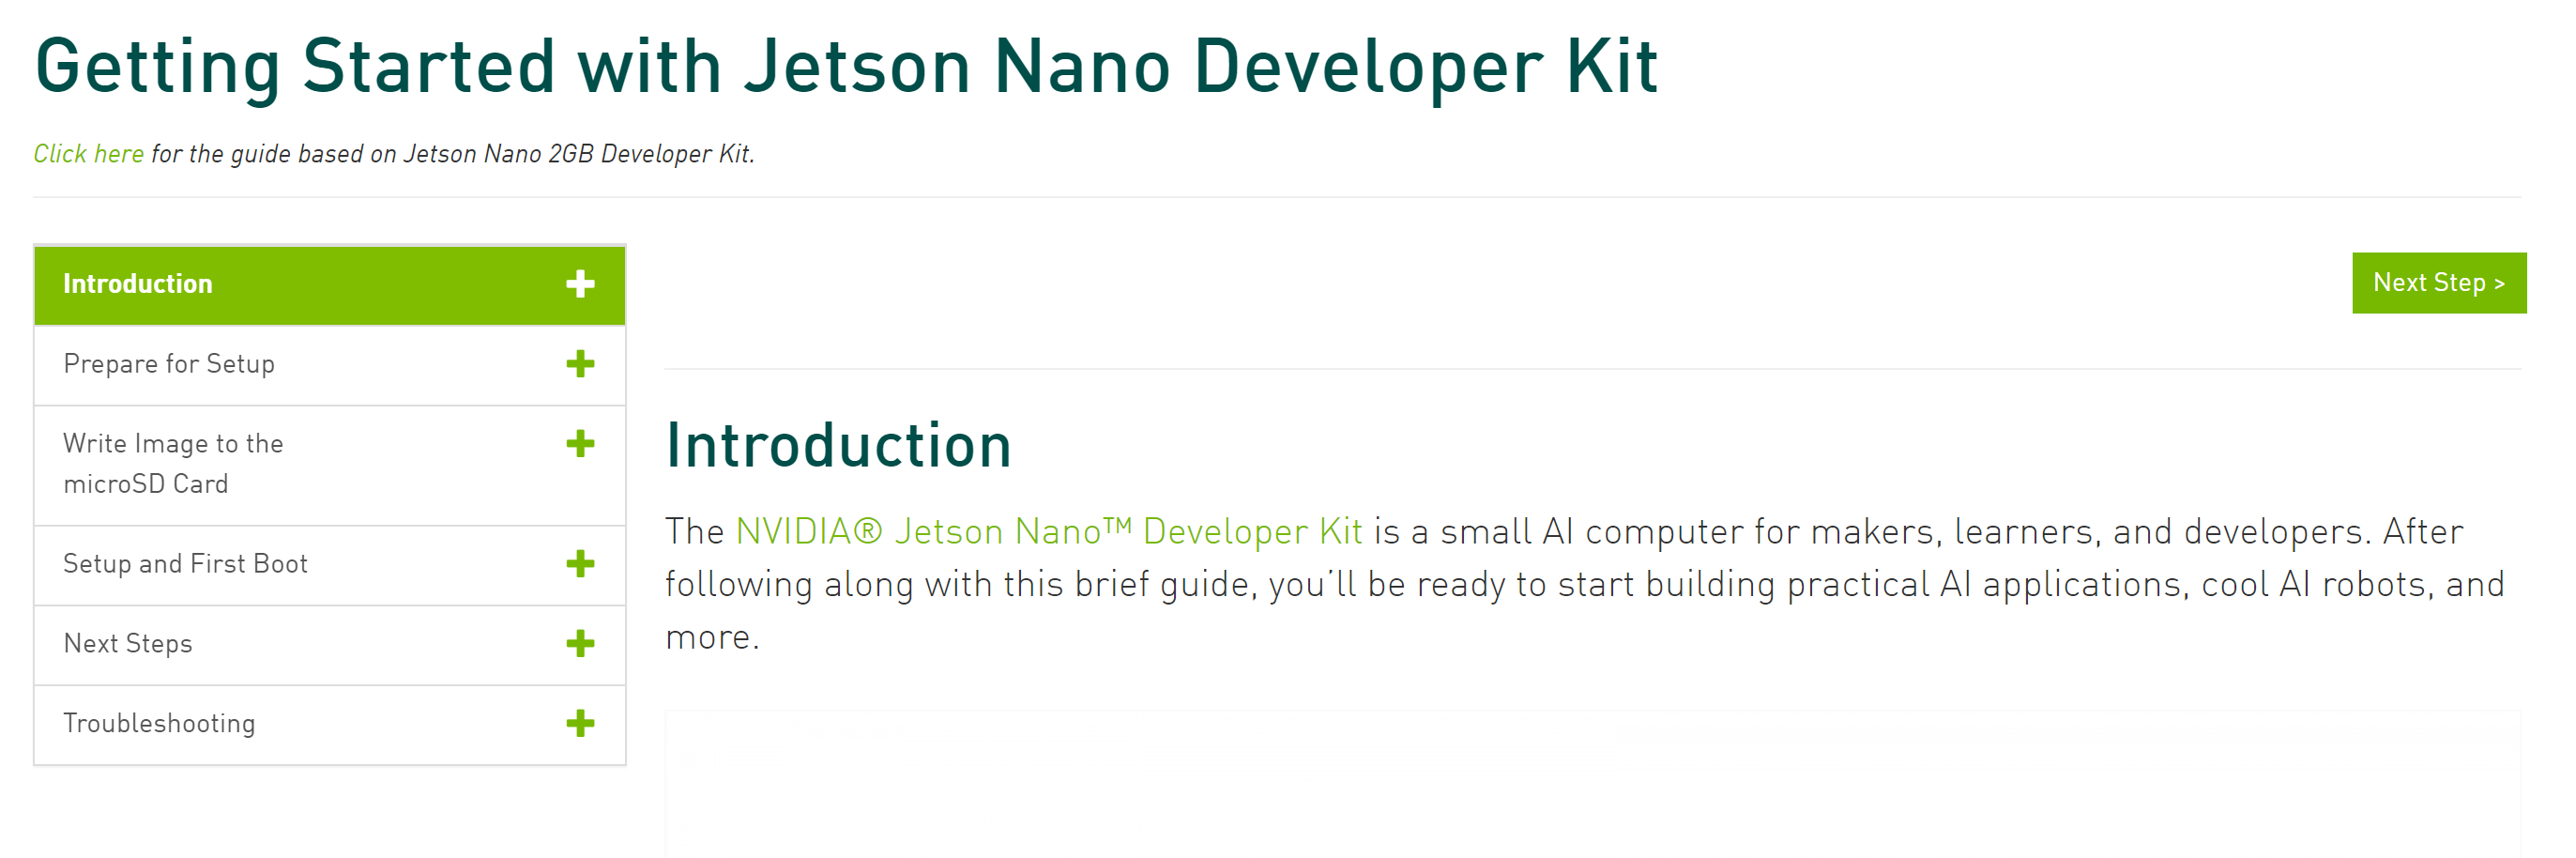
Follow the instructions on the NVIDIA Getting Started Page. Once you’re done with the steps under “After logging in”, come back here.
Step 2: Bring the Ubuntu installation up to date (and install pip if it doesn’t exist)
sudo apt update && sudo apt upgrade
sudo apt install python3-pip python-pip
sudo reboot
Make sure you reboot your jetson nano to apply any pending changes.
Step 3: Anaconda / Miniforge for ARM
Installing modules for python can be nerve-wracking. Installing, updating and removing packages can affect system stability, since the packages go into your system cache, affecting all applications using python. It’s often advisable to use a virtual environment so any packages and setting changes are contained. Any changes to an python and associated packages only persist within the environment. You also gain the flexibility of creating and using multiple environments for specific needs. Enter Anaconda/miniforge

While on Windows, Mac and Linux, we have the flexibility of using Anaconda, the ARM platform has limited choices. One such choice is miniforge. In order to get miniforge running on your Jetson Nano, let’s open a terminal session and run the following commands.
Imporant Note : DO NOT run the following commands as root. That can potentially cause harm to your installation
cd ~
wget https://github.com/conda-forge/miniforge/releases/latest/download/Miniforge3-Linux-aarch64.sh .
chmod a+x Miniforge3-Linux-aarch64.sh
./Miniforge3-Linux-aarch64.sh
Finally, reboot the board just to ensure any lingering changes are applied. Note that this is run as root.
sudo reboot
The reboot here is not essential, but gets around potential shell issues.
Step 4 : Install some foundational python packages
sudo apt install python3-h5py libhdf5-serial-dev hdf5-tools libpng-dev libfreetype6-dev
Step 5 : Set up and configure the anaconda environment
conda config --set auto_activate_base false
conda create -n jupyter python=3.6
conda activate jupyter
conda install matplotlib pandas numpy pillow scipy tqdm scikit-image scikit-learn seaborn cython h5py jupyter ipywidgets -c conda-forge
Errors Installing matplotlib?
Thanks to @mondog another post, who found that setting OPENBLAS_CORETYPE=ARMV8 in the environment fixed the issue.
Step 6 : Configure Jupyter Notebook
Once Jupyter Notebook is installed, it’s advisable to configure it to your needs. Let’s start by generating a configuration file for Jupyter and generating a password for your Jupyter Notebook instance. While this is optional, it’s highly recommended.
jupyter notebook --generate-config
jupyter notebook password
Once created, we would need to edit the config file. Some settings here may differ from those on your setup, but the idea remains the same. Let’s open the configuration file.
vim /home/sahil/.jupyter/jupyter_notebook_config.py
And change some values. Specifically, I would start by uncommenting and setting these values.
c.NotebookApp.open_browser = False
c.NotebookApp.ip = '*'
Give it a password of your choice, and then we set the python kernel to work with Jupyter. This step is optional, but ensures we’re using the correct python version for Jupyter Notebook.
python -m ipykernel install --user
Step 7 : Run Jupyter Notebook
Once this is all done, let’s run Jupyter Notebook. If you aren’t in the virtual environment, activate the ‘jupyter’ virtual environment we created first.
conda activate jupyter
jupyter notebook
Optional Installation Targets
Note that you will have to restart Jupyter after each of these installs.
Pytorch
A lot of this section is borrowed from an NVIDIA Forum Post which describes the process in detail, with specific instructions for different versions of python and/or torch/torchvision.
Since we’re looking to install a specific version of Torch/TorchVision for Python3, I’ll stick to specific commands here.
conda activate jupyter
wget https://nvidia.box.com/shared/static/fjtbno0vpo676a25cgvuqc1wty0fkkg6.whl -O torch-1.10.0-cp36-cp36m-linux_aarch64.whl
sudo apt-get install libopenblas-base libopenmpi-dev
pip install torch-1.10.0-cp36-cp36m-linux_aarch64.whl
Torchvision
conda activate jupyter
sudo apt-get install libjpeg-dev zlib1g-dev libpython3-dev libavcodec-dev libavformat-dev libswscale-dev
git clone --branch v0.11.1 https://github.com/pytorch/vision torchvision
cd torchvision
export BUILD_VERSION=0.11.1
python setup.py install --user
TensorRT
Now, if you want to use TensorRT in your conda environment, it’s not officially supported by NVIDIA, but you can force your environment to use the system installation
sudo apt install tensorrt
conda activate jupyter
export PYTHONPATH=/usr/lib/python3.6/dist-packages:$PYTHONPATH
TensorFlow
Installing TensorFlow is better documented on the nvidia pages here:
Installing TensorFlow for Jetson Platform.
But here’s some commands that’ll get you the latest as of today (11/28/2021)
conda activate jupyter
pip3 install --pre --extra-index-url https://developer.download.nvidia.com/compute/redist/jp/v46 tensorflow
General Software, Tips and Tricks
Jetson Stats
Detailed information about your Jetson board, and helpful configuration utilities. You can read more about the individual utilities at the github page below.
https://github.com/rbonghi/jetson_stats
sudo -H pip3 install -U jetson-stats
sudo systemctl restart jetson_stats.service
sudo reboot
Jetson Nano CLI only
If you are only using the Jetson Nano headless, such as for remote training/inference, it can benefit to set your Ubuntu installation to be CLI only, which reduces a significant memory overhead (~10%), giving you more memory.
Note: This requires jetson_stats, described earlier.
jetson_config -p desktop
Once in the gui, select [B1] to boot directly to terminal and require login.
NOTE: Only use [B2] if you understand what the consequences of this option.
This will trigger a Jetson Nano reboot. Click yes.
htop
Improved top command, provides instantaneous stats about your machine/board.
https://htop.dev/
sudo apt install htop
tmux
Terminal Multiplexer. Very useful if you want to start running a command on one terminal instance and check on it periodically on another.
https://www.hamvocke.com/blog/a-quick-and-easy-guide-to-tmux/
sudo apt install tmux
Locate
Find files and programs easily and instantly.
https://linuxize.com/post/locate-command-in-linux/
sudo apt install mlocate