
How to setup JupyterLab or JupyterHub on Jetson Nano
If you’ve followed the steps at a previous blog post detailing how to get Jupyter Notebook set up on your Jetson Nano, this information will follow naturally.
How to setup Python3 and Jupyter Notebook On Jetson Nano
JupyterLab vs JupyterHub
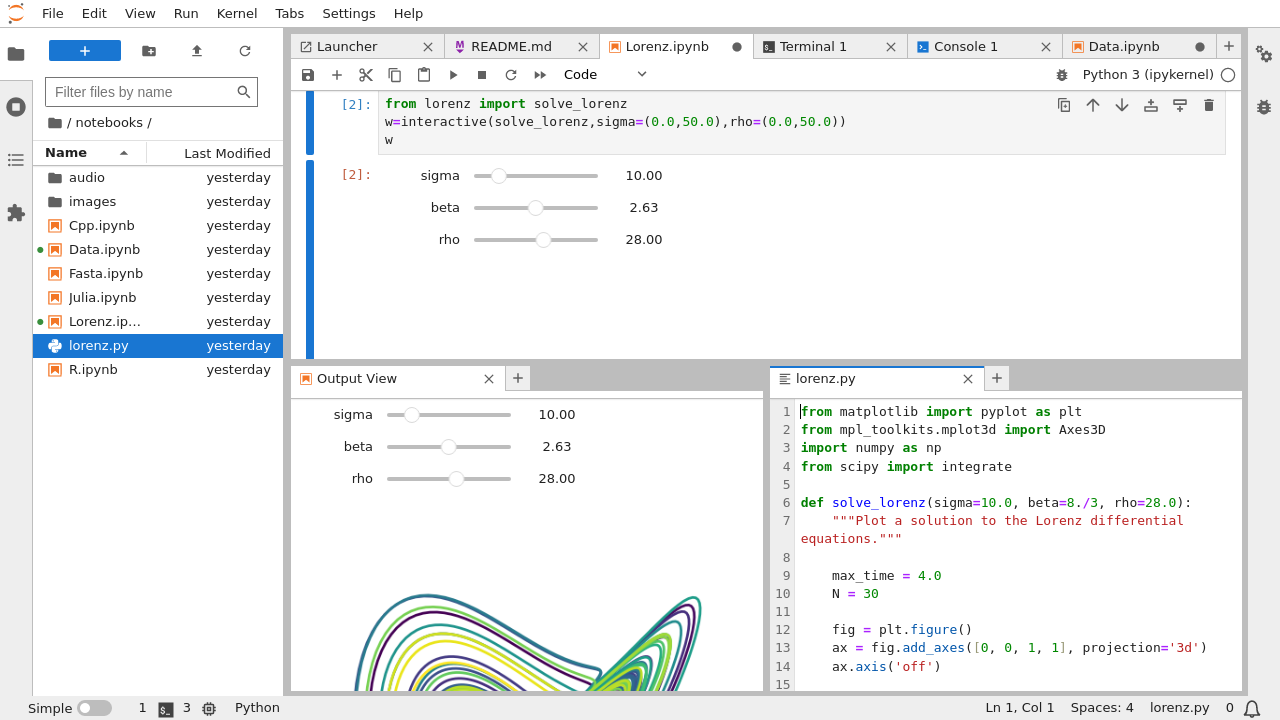
JupyterLab is meant as an evolution over the basic Jupyter Notebook interface. It allows creating a terminal session (in-browser) and provides a tabbed interface for interacting with multiple notebooks at once. Overall an improvement over the basic Jupyter setup.
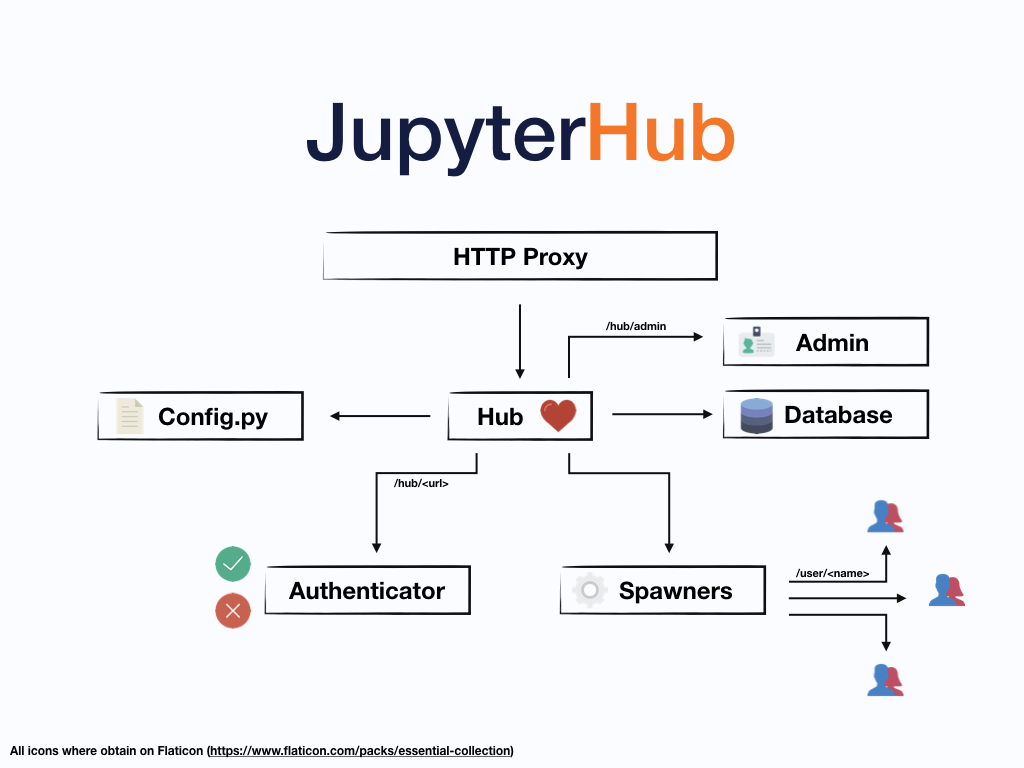
JupyterHub provides a multi-user, multi-session Jupyter setup. If you have multiple users interacting with your server, this is the setup you want to use. Additionally, it allows integration of numerous OAuth based authentication platforms which make it easier to add new users that can interact with your server.
Cloning a current Conda Environment
If you already followed the steps to set up Python 3 and Jupyter Notebook, odds are that you have a working conda environment that you like. If you wish to retain that environment, and set up a new conda environment for JupyterLab / JupyterHub, here’s what you can do:
JupyterLab
conda create -n jupyterlab --clone jupyter
conda install jupyterlab
jupyter-lab --generate-config
JupyterHub
conda create -n jupyterhub --clone jupyter
conda install jupyterhub
jupyter-hub --generate-config
Creating a new environment
If you would like to create a new environment, I’d recommend following all the steps in the related post to set up the basic jupyter conda environment and following it up by one of the two commands above, to set up jupyterhub or jupyterlab appropriately.
Comments